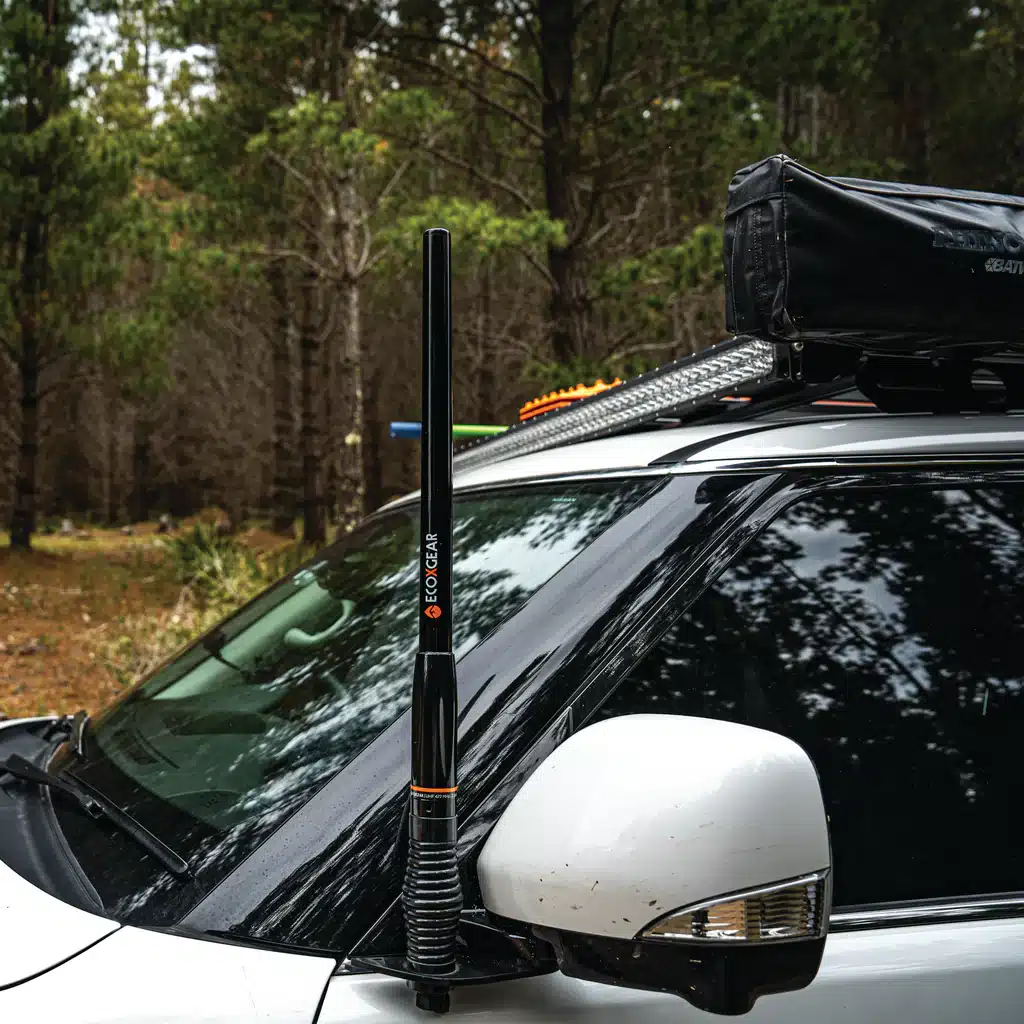
Planning to head off-road or go fully off-grid? Whether you’re towing a caravan, camping in the bush, or just want more power for your 12V gear, a Dual Battery Setup is the best upgrade you can make to your 4WD.
In this guide, we’ll break down how to Dual Battery Setup system, what parts you need, wiring tips, and how to make it easier using our top-selling Complete Dual Battery Setup for Next-Gen Ranger LHS Tub.
A dual battery system consists of two separate batteries:
Starter Battery – used to start your vehicle and run factory electronics.
Auxiliary Battery – dedicated to powering aftermarket accessories like fridges, camp lighting, inverters, and chargers.
The key advantage? You can enjoy power at camp without draining your starter battery, ensuring your vehicle always starts.
If you enjoy:
Remote camping
Long road trips
Running a portable fridge or inverter
Charging devices or tools while parked
…then a dual battery system is essential.
It keeps your starter battery isolated, allows you to safely use 12V accessories when the vehicle is off, and supports solar integration to extend power autonomy.
Uses a voltage-sensitive relay to disconnect the batteries when the engine is off. Simple and budget-friendly.
Regulates charge more precisely. Perfect for smart alternators and lithium batteries. Most also accept solar input.
High-end solution for caravans or complex setups with AC, DC, and solar integration. Ideal for long-term remote use.
To set up a custom or DIY system, you’ll typically need:
Deep cycle auxiliary battery (AGM or lithium)
Battery box or tray
DC-DC charger or VSR
Heavy-gauge cable
Fuses and circuit breakers
Connectors and Anderson plugs
Monitoring display (optional)
Mounting hardware
But for a Next-Gen Ranger, the easiest solution is to go for an all-in-one kit designed specifically for your tub setup.
We recommend our plug-and-play solution:
➡️ Complete Dual Battery Setup for Next-Gen Ranger LHS Tub
Built to fit the left-hand side of the tub in Next-Gen Rangers
Comes pre-wired and ready to install
Features a Redarc BCDC1225D DC-DC charger (compatible with AGM, Gel & Lithium)
Integrated Anderson plugs, fusing, and marine-grade wiring
Rugged aluminium mounting plate
Optional accessories like 120Ah battery and solar integration
Whether you’re setting it up yourself or having it installed by a pro, this kit removes the guesswork. It’s our top choice for Ford Ranger enthusiasts.
You can install either:
AGM (Absorbed Glass Mat) – Affordable and reliable
Lithium (LiFePO4) – Lightweight, fast-charging, deeper discharge
The featured Ranger kit is compatible with both.
The CNC-cut aluminium tray in our kit is pre-drilled to fit the left-hand tub panel. Simply bolt it in using the included hardware. No custom fabrication needed!
Secure your deep-cycle battery into the box or tray using straps or clamps. Ensure it’s:
Firmly mounted
Away from heat sources
Accessible for maintenance
The Redarc BCDC1225D charger included in the kit handles:
Vehicle alternator input
Solar panel input (up to 25A)
Multi-stage battery charging
Mount the charger beside the battery tray and connect as follows:
Input (RED) to the starter battery (via fuse)
Output (BROWN) to the auxiliary battery positive
Earth (BLACK) to chassis ground
Ignition sense to a switched 12V source (if needed)
Optional: Connect solar panel to the orange wire for regulated input.
The kit includes pre-wired Anderson connectors, which makes adding:
Fridges
Solar panels
Inverters
LED lights
…simple and modular. No splicing or custom wiring needed.
Use inline fuses (usually 50A–100A) within 30cm of each battery terminal. These protect against short circuits or cable damage.
You can optionally add a battery monitor or voltage display to keep track of charging status and load.
Pro Tip: A shunt-based monitor gives the most accurate state of charge (SOC) reading.
Once installed, test the system:
Start your vehicle – the charger should activate.
Use a multimeter to verify output voltage on the auxiliary battery.
Plug in a 12V load like a fridge to check voltage drop and performance.
Monitor for 10–15 minutes to ensure no abnormal heating or error lights.
One of the biggest perks of a DC-DC charger system is solar compatibility. Here’s how to add solar:
Mount a fixed panel on your canopy/roof, or use a folding portable panel
Use the solar input wire on the Redarc charger
Solar keeps your battery charged even when parked
Our team can also help pair the right wattage solar panel with your kit.
❌ Incorrect cable gauge – leads to voltage drop and poor charging
❌ No fuse protection – a serious fire hazard
❌ Mixing battery chemistries – AGM and lithium don’t charge the same
❌ Improper grounding – results in inconsistent charging
❌ No solar regulator – bypassing this can damage your battery
We’re not just suppliers – we’re 4WD and touring enthusiasts ourselves. At All12Volt, we:
Stock Australian-approved products
Offer plug-and-play kits for many popular utes
Provide in-house technical support
Deliver across Australia
Supply trusted brands like Redarc, Baintech, and Victron
Setting up a dual battery system doesn’t need to be complex—especially with a kit designed to suit your specific vehicle.
Our Complete Dual Battery Setup for Next-Gen Ranger LHS Tub is the ultimate solution for 4WD enthusiasts who want a clean, safe, and powerful auxiliary power system.
Need help selecting the right battery or solar panel?
Call us or email our team for expert advice.
Stay powered, stay safe, and enjoy the outdoors – the All 12 Volt way.
Need help or have questions?


Who does not love the outdoors and camping? It's a great adventure and opens up new destinations and often unexplored places. But you need to be well equipped with the safe and durable caravan and camping accessories for these outdoor activities. It is undoubtedly thrilling and exciting, but unless you take good care of what you need to do and what you should avoid, there's always a chance of an unpleasant experience. It pays to take sound advice from a 4WD specialist when going on a camping trip.